Wednesday, February 15, 2012

Valentine's Day Ice Cream Cake

As we all know yesterday was Valentine's Day! My boyfriend loves ice cream cake and I have never made one before, so I figured this would be perfect and how cutesy in my heart shaped pan! He is a huge fan of Reese's Peanut Butter cups along with honestly, all kinds of chocolate candy;)  So I ran to Harris Teeter to get the ice cream and Ben and Jerry's had a flavor I had never seen before and it was exactly what I needed for this cake! It was called "Everything but the..." and pretty much had every kind of candy bar in it. I also got a pint of peanut butter cup and a bag of mini Reese's cups, to make the lovely "J" on top!!!
So the first thing I had to do was make the cake. I just used a box mix vanilla. Once it was completely cooled I took it out of the pan and sliced it into three layers. I then lined the pan with parchment paper so that it would be easy to add in the ice cream and take it out when I was ready to decorate and present. So basically, I just layered, cake, ice cream..putting the "peanut butter cup" on the first layer and "the everything but the" on the 2nd layer. It was really one of the easiest desserts I have made. Once I was ready to present I took out the Reese's, made the "J" by using a little chocolate syrup under each one so they would stick and wah-la a glorious Valentine's Day Ice Cream Cake!

I must say, it was delish!!!! Enjoy, as I know we did!

Banana Muffins with Peanut Butter M&M's

Thanks to my friend Jenny, I have become somewhat addicted to Pinterest! Last week I came across this Reese's Peanut Butter Banana Bread that looked DELISH!!! And can you believe it I had exactly three bananas almost ripe enough and a whole bag of Peanut Butter M&M's for Valentine's Day, so I knew I had to try this out. I obviously, made muffins though...
Now I have always been a fan of peanut butter and banana. I remember about a year ago I think I ate it on an english muffin for about a year straight, no joke! As most of my friends know I am a total creature of habit;)


The recipe was easy enough, and I have to say, they came out really yummy. They are a little heavy, but that is to be expected with 1/2 cup of peanut butter and three banana's and a whole bag of M&M's.
I only changed one thing in the recipe and that was the brand of peanut butter, I actually used something I have never tried before, but in my attempt to be healthier in 2012, I got this brand at the store right after the New Year! It was still unopened if that tells you anything!

So here is the recipe courtesy of Cookies and Cups:
  • 3 very ripe bananas, mashed
  • 1/2 cup peanut butter- I used Better'n Peanut Butter
  • 1/4 cup oil
  • 1 egg
  • 1/2 cup granulated sugar
  • 1/4 cup brown sugar
  • 1 1/2 cups of all purpose flour
  • 1/2 tsp baking soda
  • 1 1/2 tsp baking powder
  • 1/2 tsp salt
  • 8 oz bag of Reese’s Mini cups- I used peanut butter M&M's
  1. Preheat oven to 350
  2. Grease your loaf pan (I used an 8 x 4 pan) with butter or shortening.
  3. In a medium bowl whisk together your flour, baking soda, baking powder and salt, set aside.
  4. In a large bowl stir together your bananas, peanut butter, oil, egg and sugars.
  5. Pour your dry ingredients into your wet ingredients and stir until just combined. Batter will be lumpy.
  6. Fold in your Reese’s Mini cups and spread batter into prepared pan.
  7. Bake for approx 1 hour or until toothpick inserted into center comes out clean.
  8. Let cool in pan for 10 minutes, then loosen the edges of the pan with a knife and remove from loaf pan, transferring bread to a cooling rack.
** Please note, I made cupcakes and it made about 18. For the life of me, I can't recall how long they took to cook. I think I started the timer at about 20 mins and kept checking in 10 min increments until the toothpick came out clean!

Enjoy!

Saturday, February 11, 2012

Roasted Red Pepper, Feta and Green Onion Scones

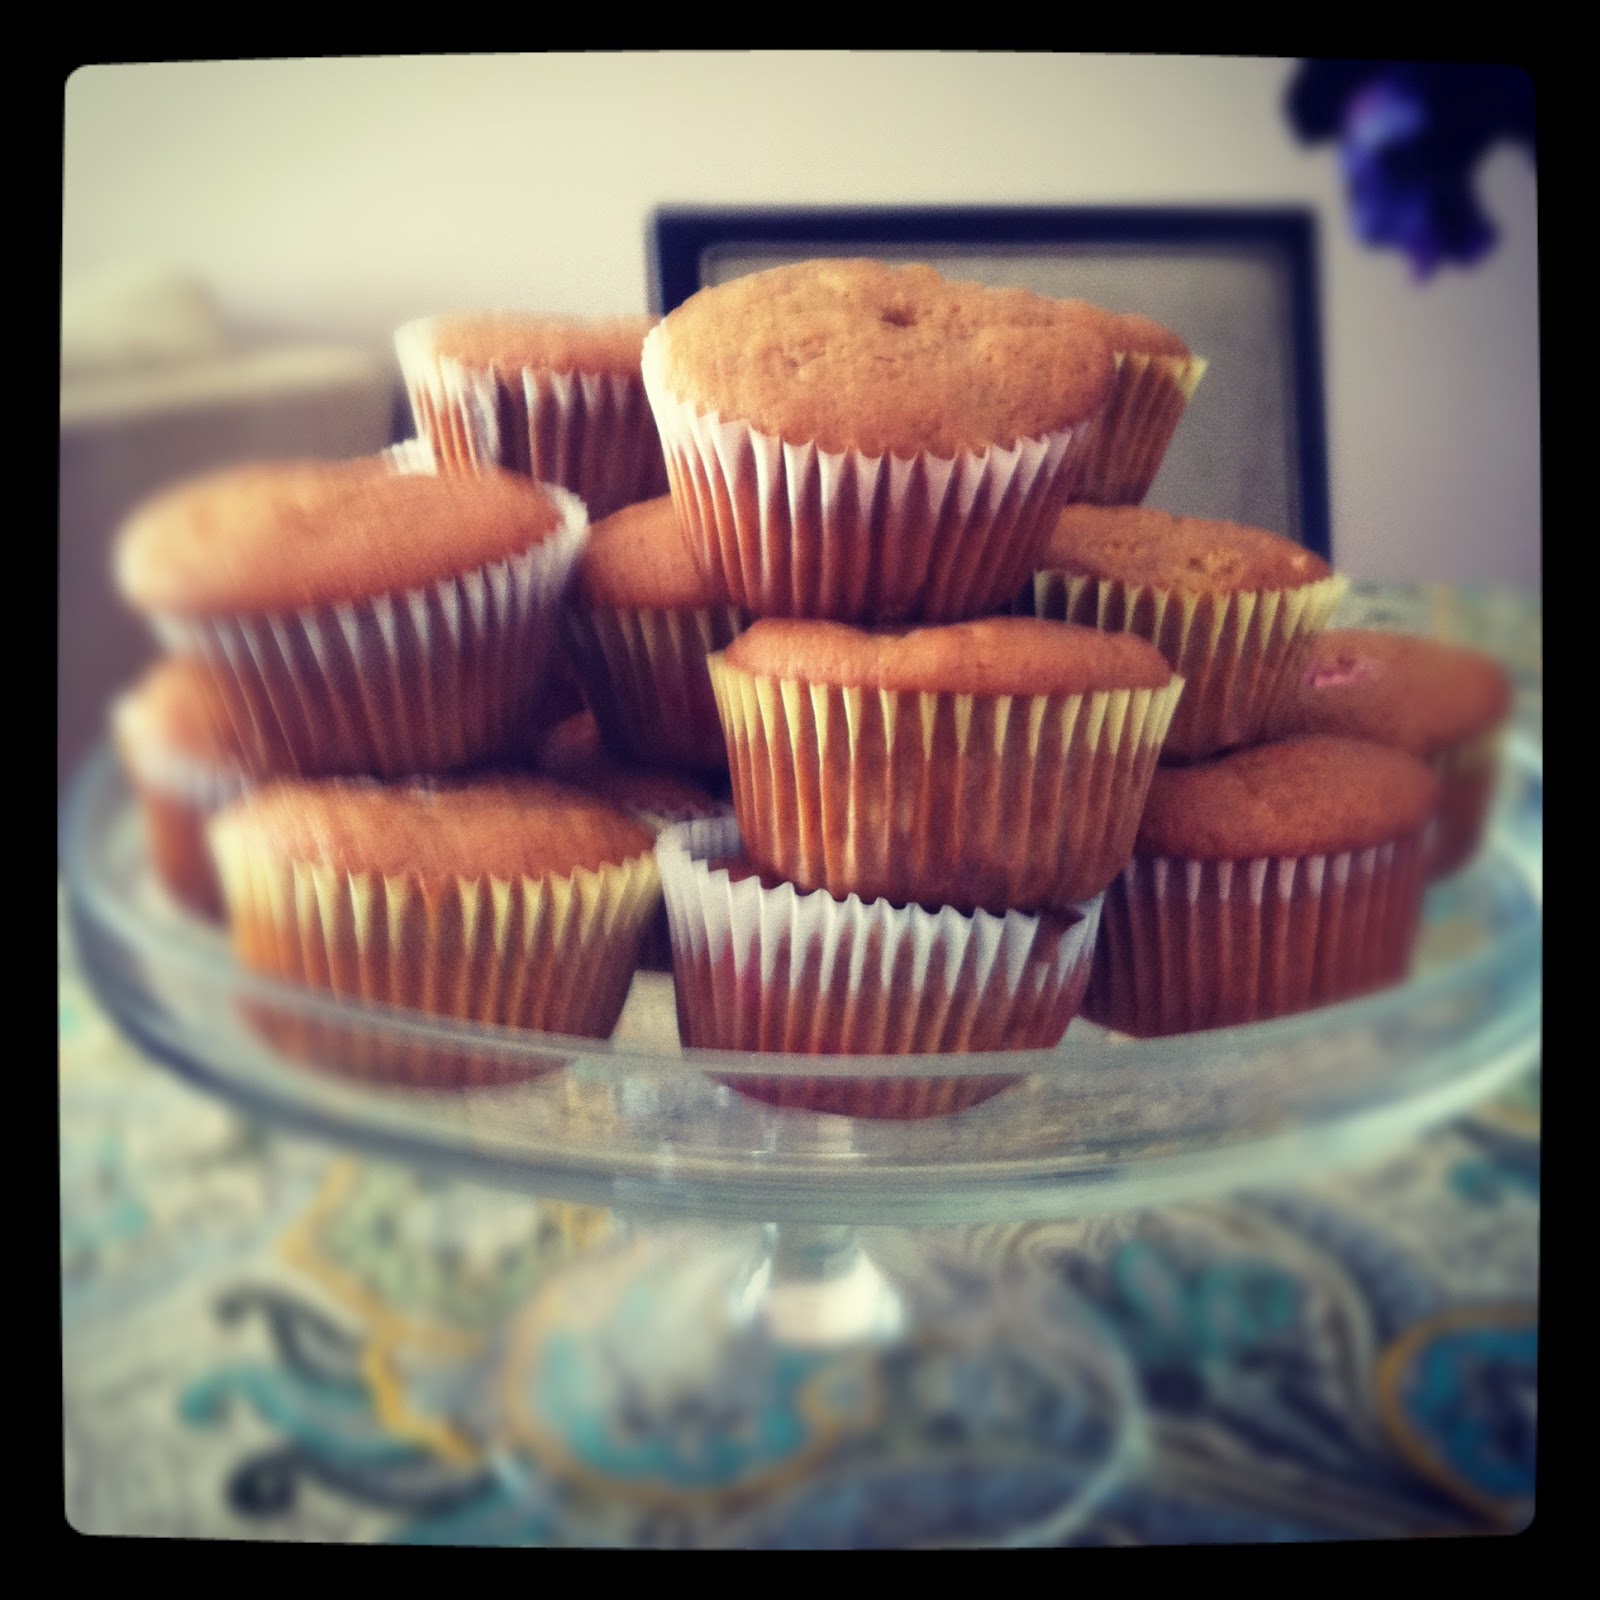
Last week work was a little slow. When that happens, I tend to do a lot of recipe searching based on what is in my kitchen! I came across this scone recipe on Foodgawker and I realized I had all of the ingredients, feta, green onions and roasted red peppers, strange combo I know, but I just had to try it out!
It literally took me all of ten minutes to throw it together, which was perfect! I had been planning a yummy dinner for Josh later that night, so I figured these would be a perfect compliment. Now I will say, I did NOT have heavy cream, but I did have buttermilk and I have seen recipes in the past for scones using buttermilk, so I assumed it would be just fine! It actually was, however, they took much longer to cook, like a LOT longer...I think a good 45 mins and the dough was a little stickier than I would have thought. I did add more flour, but I have a feeling I could have added even more. While they were in the oven I took a look at some other recipes that called for buttermilk while making scones and the amount of flour in most was almost double what I had. So I would say if you do not have heavy cream and have to use buttermilk, add more flour!!!
But regardless, they came out really tasty, I was kind of surprised and relieved to be honest! So overall, I would make these again..but definitely try with the heavy cream next time.
Recipe highly adapted from The Pastry AffairRoasted Pepper Feta Scones
Yields 8 scones
2 cups all-purpose flour
1 tablespoon baking powder
1/2 teaspoon salt
6 tablespoons cold butter, cubed
4 ounces feta cheese
3/4 cup roasted peppers, diced
2 green onions, finely sliced
1 egg, slightly beaten
3/4 cup heavy cream
Preheat oven to 350 degrees F (180 degrees C).
In a large mixing bowl, whisk together flour, baking powder, and salt. Cut in butter with pastry blender or your hands until mixture resembles coarse sand. Stir in feta cheese, roasted peppers, and green onion. Mix in egg and heavy cream until dough comes together.
Turn out on a lightly floured surface, form a ball and flatten it until it is about 1-inch thick. Using a sharp knife, cut 8 equal pie wedges. Transfer scones to a baking sheet and bake for 20-25 minutes, or until lightly browned.
Serve warm or at room temperature.

Enjoy!

Monday, February 6, 2012

Triple Chocolate Cheesecake

This past weekend I met up with three of my closest college friends to help celebrate one of their birthday's! We made a plan to meet at our friend Michelle's as she lives right next to Shelton Vineyards in Dobson, NC. To start off we grabbed a bite to eat at the restaurant on the vineyard, of course with a glass of wine! Once our bellies were full we headed over for the tour! It was really a great afternoon, as these girls hands down can make you laugh all day long, especially when we have a little wine and about 10 old school college photo albums with us!!
Once the tour was complete, we headed back to Michelle's "farm house" to continue the wine drinking and test out the birthday girl's cake....a homemade triple chocolate cheesecake...apparently one of Becca's (the birthday girl) favorites! And if you can believe it, this recipe is actually adapted from Cooking Light. Although I did find it on Foodgawker.com, courtesy of Back to the Cutting Board
As you can tell it is pretty apparent that Becca is not 63, but we like to mess with each other, so why not make the switch!
The Recipe was not too difficult at all to make, quite easy actually, but you would never know it once you taste it!
Again this recipe was adapted from Cooking Light and Back to the Cutting Board. The ingredients below vary a little from what is on her website as I made a few changes...

Ingredients
Crust
  • 1/4 cup sugar
  • 3 tbsp. margarine, melted
  • 1 tbsp. egg white
  • 1 1/3 cups chocolate graham cracker crumbs (about 8 full sized crackers)
Cheesecake
  • 3 (1 oz.) squares semisweet or bittersweet chocolate
  • 1/4 cup chocolate syrup
  • 2 (8 oz.) package Neufchatel cheese, softened
  • 1 cup sugar
  • 2 tbsp. unsweetened cocoa
  • 1 tsp. vanilla
  • 1/4 tsp. salt
  • 2 eggs
  • 1/2 cup low-fat sour cream
  • 1 tbsp. sugar
  • 2 tsp. unsweetened cocoa
  • Chocolate chip minis

Process
  1. Preheat oven to 350 degrees (F). Beat sugar, margarine and egg in a small bowl until blended. Add crumbs and stir well. Firmly press mixture into bottom (and 1 inch up sides if you want to attempt it) of an 8-inch or 10-inch springform pan coated with cooking spray. Bake for 10 minutes and let cool.
  2. Turn oven down to 300 degrees (F).
  3. Combine rum (if using) and chocolate squares in the top of a double boiler or over low heat. Cook until chocolate melts, stirring frequently. Remove from heat and add chocolate syrup, stirring until smooth.
  4. In a large bowl, beat cheese with a mixer at medium speed until smooth. Add 1 cup sugar, 2 tablespoons cocoa, vanilla, and salt and beat until smooth. Add chocolate mixture and beat at low speed until well-blended. Add eggs, 1 at a time, mixing well after each addition.

Pour into the crust and bake for 40 minutes or until almost set (it should giggle just a little if you tap the pan). Combine sour cream, 1 tablespoon sugar, and 2 teaspoons cocoa and stir well. Turn oven off and take out the cheesecake. Spread sour cream mixture over cheesecake and put back in the still warm (but turned off) oven. Let stand for 45 minutes in the oven with door closed. Remove cheesecake and let cool to room temperature. Cover and chill at least 8 hours.


So overall the weekend was a blast, the cheesecake was a hit and good times were had as usual!! Happy Birthday Beccs, love you!!!


Italian Cream Cake

So the day has come, I finally baked my first from scratch birthday cake!!
Tomorrow is my friend Xuan's birthday, however I am unable to see her, so I went ahead and made the cake last week for her! She told me this was her favorite cake and to be honest I was a little nervous. One, because I have not made a cake from scratch and two, I have never tasted this cake so I was not sure if I knew it turned out ok or not when I tested it! Well, to my surprise, it turned out so yummy, she absolutley loved it! I guess I did good!

She liked it so much, she pretty much devoured the whole thing all before her actual birthday!!! Yum de Lum! I have to be honest, when I took the first bite I was kind of on the fence about it. It was right out of the fridge and just seemed so sweet to me. But I saved a piece for Josh and had to take a bite of it at room tempurature and I must say, I was really shocked at how good it was. I would make this cake again and totally reccommend the recipe, which by the way, I found on Allrecipes.com courtesey of Rory!

Italian Cream Cake Recipe:- The only thing I did differently was use two 9 inch rounds vs. three.
For the cake:

1 cup buttermilk

1 teaspoon baking soda

1/2 cup butter

1/2 cup shortening

2 cups white sugar

5 eggs

1 teaspoon vanilla extract

1 cup flaked coconut

1 teaspoon baking powder

2 cups all-purpose flour


For the frosting: 

8 ounces cream cheese

1/2 cup butter

1 teaspoon vanilla extract

4 cups confectioners' sugar

2 tablespoons light cream

1/2 cup chopped walnuts

1 cup sweetened flaked coconut


  1. Preheat oven to 350 degrees F (175 degrees C). Grease three 9 inch round cake pans. In a small bowl, dissolve the baking soda in the buttermilk; set aside.
  2. In a large bowl, cream together 1/2 cup butter, shortening and white sugar until light and fluffy. Mix in the eggs, buttermilk mixture, 1 teaspoon vanilla, 1 cup coconut, baking powder and flour. Stir until just combined. Pour batter into the prepared pans.
  3. Bake in the preheated oven for 30 to 35 minutes, or until a toothpick inserted into the center of the cake comes out clean. Allow to cool.
  4. To Make Frosting: In a medium bowl, combine cream cheese, 1/2 cup butter, 1 teaspoon vanilla and confectioners' sugar. Beat until light and fluffy. Mix in a small amount of cream to attain the desired consistency. Stir in chopped nuts and remaining flaked coconut. Spread between layers and on top and sides of cooled cake.